
Have you ever wondered how LinkedIn handles millions of blog posts? Or how Spotify keeps track of your endless playlists? Behind all these apps is a simple concept called CRUD — Create, Read, Update, Delete.
In this blog post, I will show you how to build your first rest API using Flask, a popular Python framework. I will show you how to perform CRUD operations on the API.
What you will learn in this blog post
I’ll teach you how to build your first CRUD app using Flask (A Python Framework). I will build a virtual book library that stores books. We will be able to do —
- Add new books (CREATE) to the library
- Browsing our collection (READ)
- Update that price tag (UPDATE)
- Removing books (DELETE)
A step-by-step guide to building your first rest API with Python using the Flask framework
Tools we will need for this app:
- Flask — It’s a Python framework that allows you to build the crud app with a minimal setup.
- Database — To store the book data. We will use a Postgres database in this blog post.
- SQLAlchemy — It allows your Flask app to talk to the database.
Your First Flask App
Let’s write your first Flask app — it’s just 6 lines of code
# dummy-app.py

from flask import Flask
app = Flask(__name__)

@app.route('/')
def hello_world():
    return 'Hello! Welcome to my dummy flask app!'

if __name__ == '__main__':
    app.run(debug=True)
Let’s break it down:
from flask import Flask– We’re getting Flask from our toolboxapp = Flask(__name__)– Creating our web application@app.route('/')– Telling Flask “When someone visits the route,homepage('/')in this case”- The function below tells Flask what to send back
What’s a Route?
A route is just a web address — like a street address, but for websites. When you type www.instagram.com/profile, you’re using a route that takes you to your profile.
In Flask, we create routes like this:
# dummy-app.py
@app.route('/hello')
def say_hello():
  return "Hi there!"

@app.route('/bye')
def say_bye():
  return "bye there!"
Let me run this dummy app. Before I run the app and access my web page, I will have to install the flask and run the app.
pip install flask
python dummy-app.py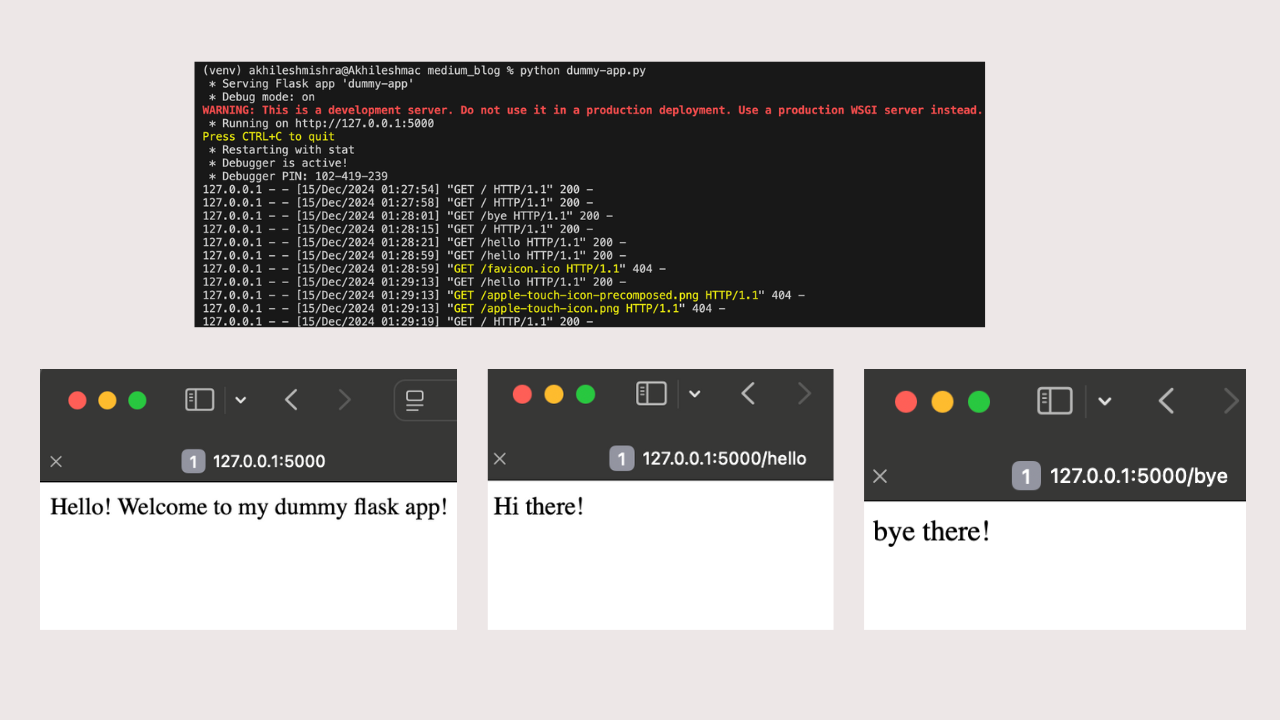
Now that you understand routes, let me introduce the most important routes in web apps.
- GET: When you’re reading something
- POST: When you’re creating something
- PUT/PATCH: When you’re updating something
- DELETE: When you’re removing something.
This blog post will show you how to use these routes while building a virtual book library app. Let’s get started with that
Project setup
- Create a project directory and files
# Create project
mkdir crud_app
cd crud_app
touch app.py requirements.txt- Create a virtual environment
python3 -m venv crud
# activate the virtual environments
source crud/bin/activate- Paste the code below to the
app.pyfile
# app.py
from flask import Flask, request, jsonify
from flask_sqlalchemy import SQLAlchemy
from datetime import datetime

app = Flask(__name__)
app.config['SQLALCHEMY_DATABASE_URI'] = 'postgresql://postgres:password@localhost:5432/postgres'
app.config['SQLALCHEMY_TRACK_MODIFICATIONS'] = False
db = SQLAlchemy(app)

# Our Book Model
class Book(db.Model):
    id = db.Column(db.Integer, primary_key=True)
    title = db.Column(db.String(100), nullable=False)
    author = db.Column(db.String(100), nullable=False)
    price = db.Column(db.Float, nullable=False)
    created_at = db.Column(db.DateTime, default=datetime.utcnow)

    def to_dict(self):
        return {
            'id': self.id,
            'title': self.title,
            'author': self.author,
            'price': self.price,
            'created_at': self.created_at.strftime('%Y-%m-%d %H:%M:%S')
        }

# Create the database tables
with app.app_context():
    db.create_all()
# base route
@app.route("/")
def hello_world():
    return "<p>Hello, World!</p>"

if __name__ == '__main__':
    app.run(debug=True)
Things I am doing in this code
- Setting Up Flask & Database Connection.
SQLALCHEMY_DATABASE_URIpointing out to the Postgres connection string- Creating a db schema to store the book information in the database —
class Book(db.Model) - Creating the table before starting up the app —
db.create_all() - Starting the app in debug mode —
debug=True
- Install the dependencies from the
requirements.txtfile
# requirements.txt
flask
flask-sqlalchemy
psycopg2-binarypip install -r requirements.txt
Since this app requires a Postgres database, we need to make sure it is available before starting the app. For this demo, I will use a Postgres docker container.
Postgres database takes inputs as username, password, and db name
docker run --name flask_postgres -e POSTGRES_USER=postgres -e POSTGRES_PASSWORD=password -e POSTGRES_DB=postgres -p 5432:5432 -d postgres
Now that we have a database container running, we can run the app
- Run the app.
python app.py
Post route
To create the book records, you can use a POST route. Let’s create a post route that we can use to make records. Append the code below to app.py
# CREATE - Add a new book
@app.route('/books', methods=['POST'])
def create_book():
    try:
        data = request.get_json()

        # Validate required fields
        if not all(key in data for key in ['title', 'author', 'price']):
            return jsonify({'error': 'Missing required fields'}), 400

        new_book = Book(
            title=data['title'],
            author=data['author'],
            price=data['price']
        )

        db.session.add(new_book)
        db.session.commit()

        return jsonify({
            'message': 'Book created successfully',
            'book': new_book.to_dict()
        }), 201

    except Exception as e:
return jsonify({'error': str(e)}), 400- Create book records
We can run curl command or make API calls using an app like Postman or EchoAPI VScode extension
curl -X POST http://127.0.0.1:5000/books \
-H "Content-Type: application/json" \
-d '{"title": "The Great Gatsby", "author": "F. Scott Fitzgerald", "price": 9.99}'

curl -X POST http://127.0.0.1:5000/books \
-H "Content-Type: application/json" \
-d '{ "title": "To Kill a Mockingbird", "author": "Harper Lee", "price": 11.99 }'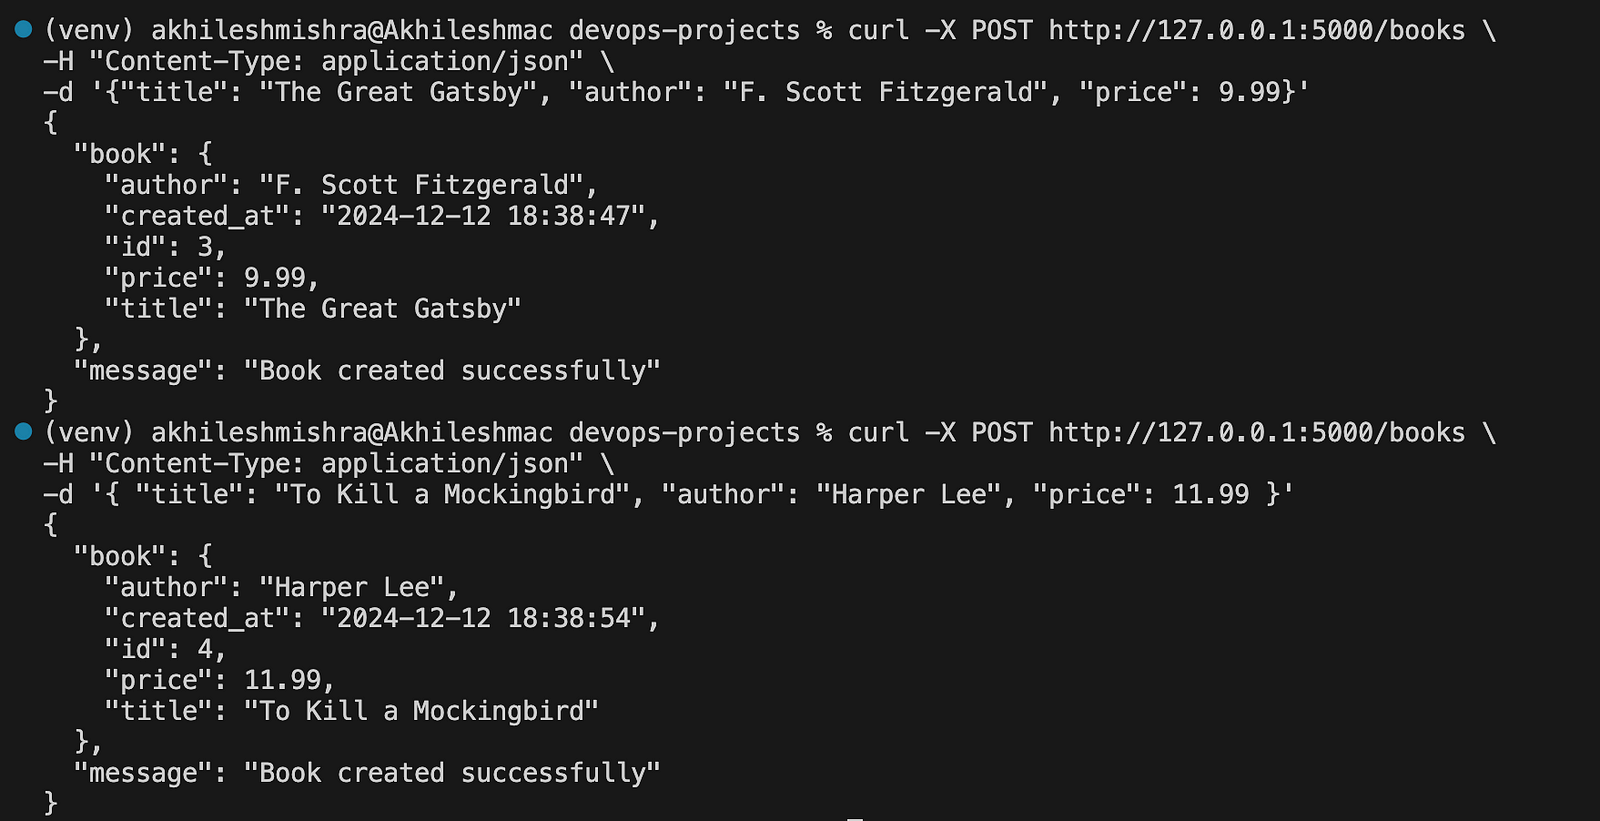
Get Routes
You can query these book records using a read route.
# READ - Get all books
@app.route('/books', methods=['GET'])
def get_books():
    books = Book.query.all()
    return jsonify([book.to_dict() for book in books])

# READ - Get a specific book
@app.route('/books/<int:id>', methods=['GET'])
def get_book(id):
    book = Book.query.get_or_404(id)
return jsonify(book.to_dict())- If you query the /book route, you will get all book records.
curl http://127.0.0.1:5000/books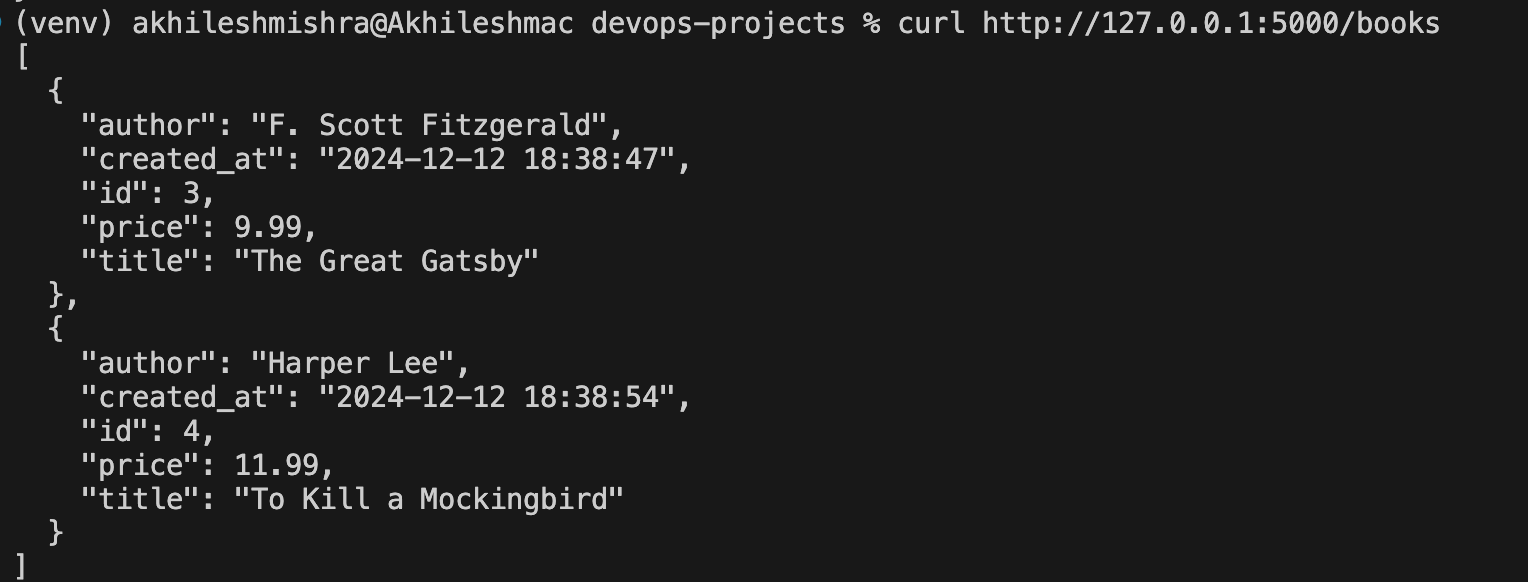
- You can query individual books by using the id
# curl http://127.0.0.1:5000/books/{book_id}
curl http://127.0.0.1:5000/books/1
curl http://127.0.0.1:5000/books/3
curl http://127.0.0.1:5000/books/4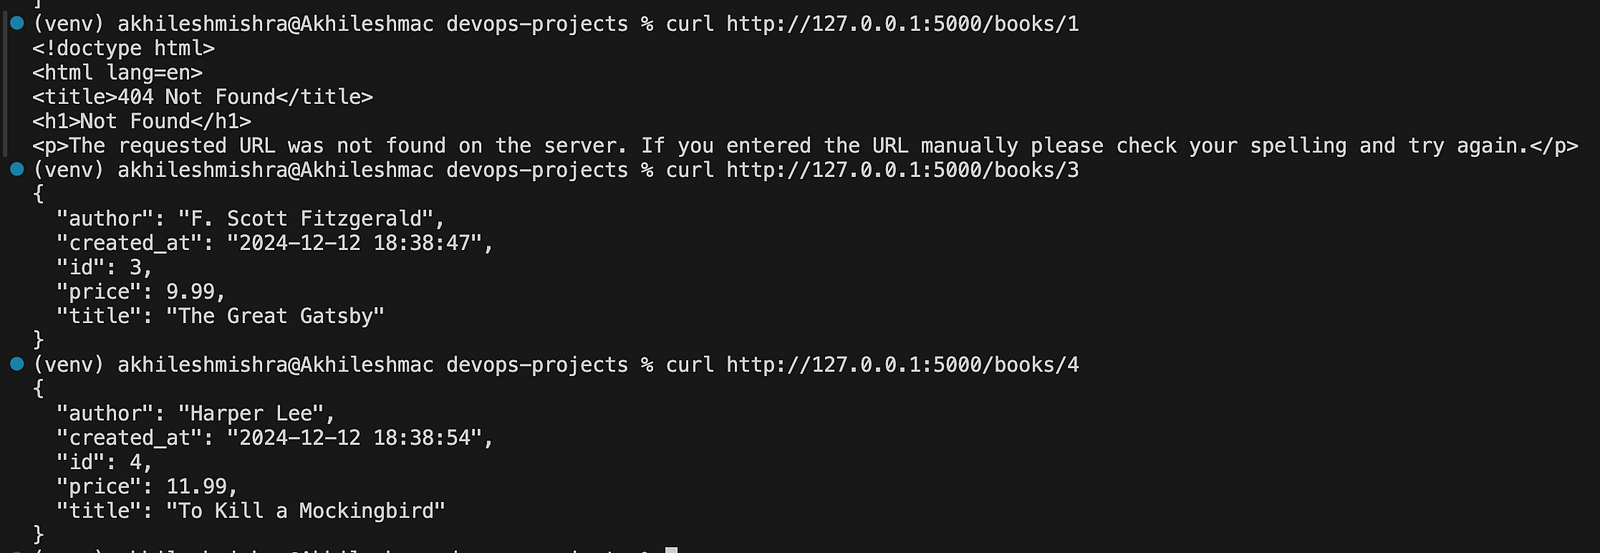
Update route
If you need to update existing book records with put HTTP requests.
# UPDATE - Update a book
@app.route('/books/<int:id>', methods=['PUT'])
def update_book(id):
    book = Book.query.get_or_404(id)
    data = request.get_json()

    try:
        if 'title' in data:
            book.title = data['title']
        if 'author' in data:
            book.author = data['author']
        if 'price' in data:
            book.price = data['price']

        db.session.commit()
        return jsonify({
            'message': 'Book updated successfully',
            'book': book.to_dict()
        })

    except Exception as e:
        return jsonify({'error': str(e)}), 400
Let’s update the price for the book “To Kill a Mockingbird”
curl -X PUT http://127.0.0.1:5000/books/4 \
-H "Content-Type: application/json" \
-d '{"price": 14.99}'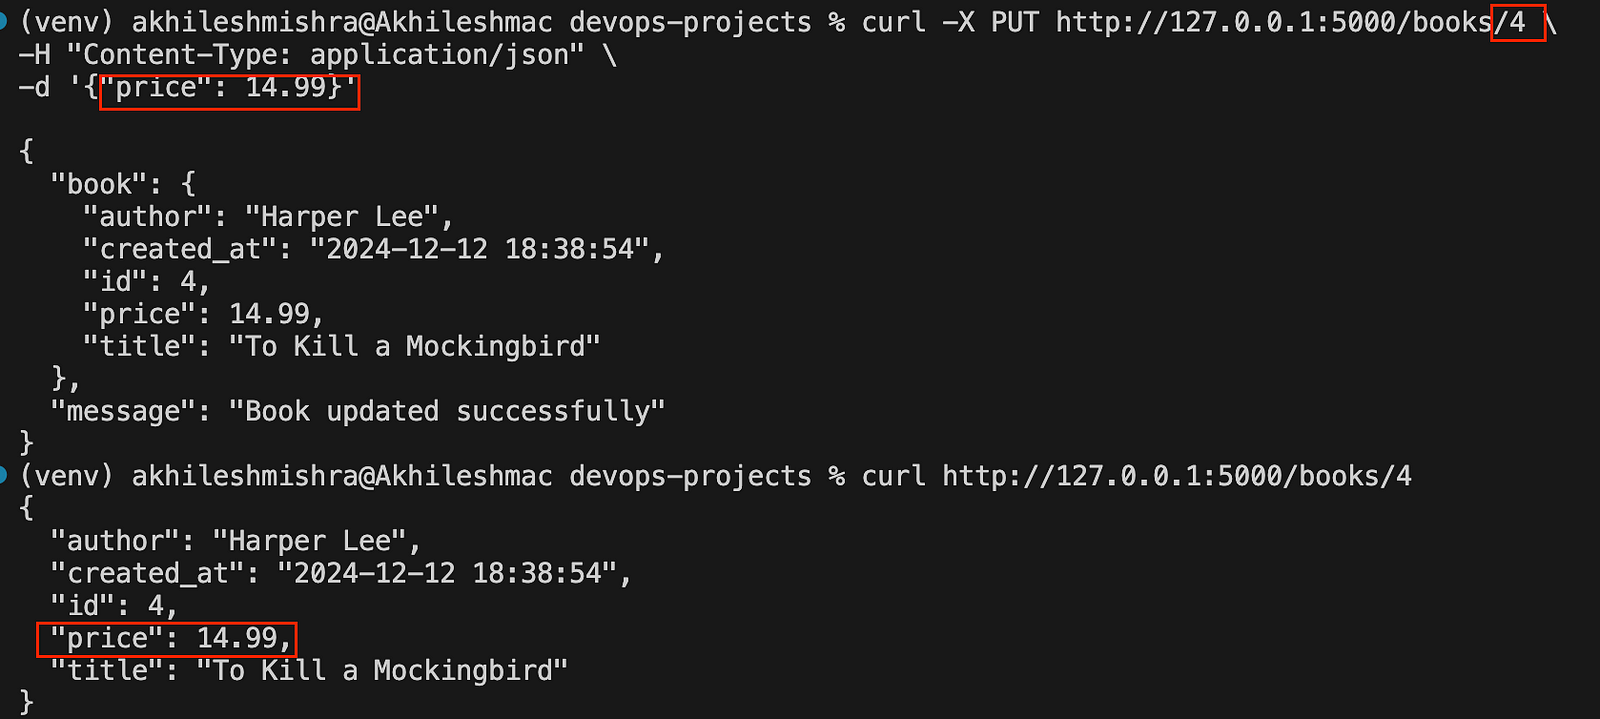
Delete route
In the same way, you can delete the book records.
# DELETE - Delete a book
@app.route('/books/<int:id>', methods=['DELETE'])
def delete_book(id):
    book = Book.query.get_or_404(id)

    try:
        db.session.delete(book)
        db.session.commit()
        return jsonify({'message': 'Book deleted successfully'})
    except Exception as e:
        return jsonify({'error': str(e)}), 400
Deleting a book record record
curl -X DELETE http://127.0.0.1:5000/books/3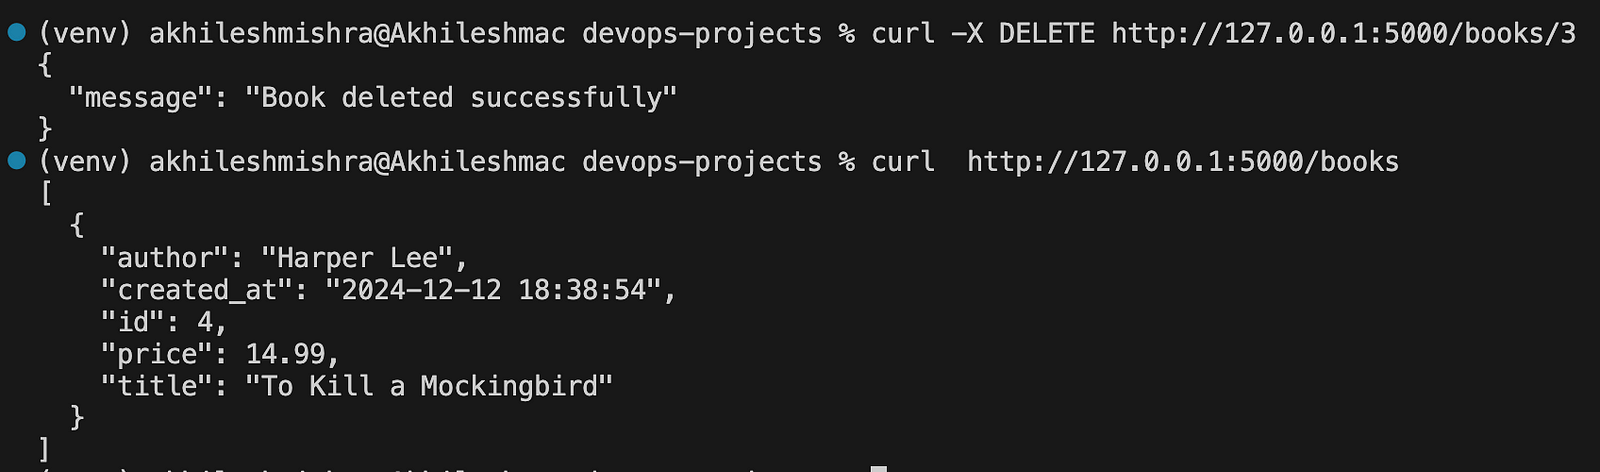
Bulk operations
To create multiple books at the same time
- append the below code in
app.py
# Bulk Create - Add multiple books
@app.route('/books/bulk', methods=['POST'])
def create_multiple_books():
    try:
        data = request.get_json()

        if not isinstance(data, list):
            return jsonify({'error': 'Expected a list of books'}), 400

        created_books = []

        for book_data in data:
            # Validate each book
            if not all(key in book_data for key in ['title', 'author', 'price']):
                return jsonify({'error': f'Missing required fields in book: {book_data}'}), 400

            new_book = Book(
                title=book_data['title'],
                author=book_data['author'],
                price=book_data['price']
            )

            db.session.add(new_book)
            created_books.append(new_book)

        db.session.commit()

        return jsonify({
            'message': f'Successfully created {len(created_books)} books',
            'books': [book.to_dict() for book in created_books]
        }), 201

    except Exception as e:
        db.session.rollback()  # Rollback on error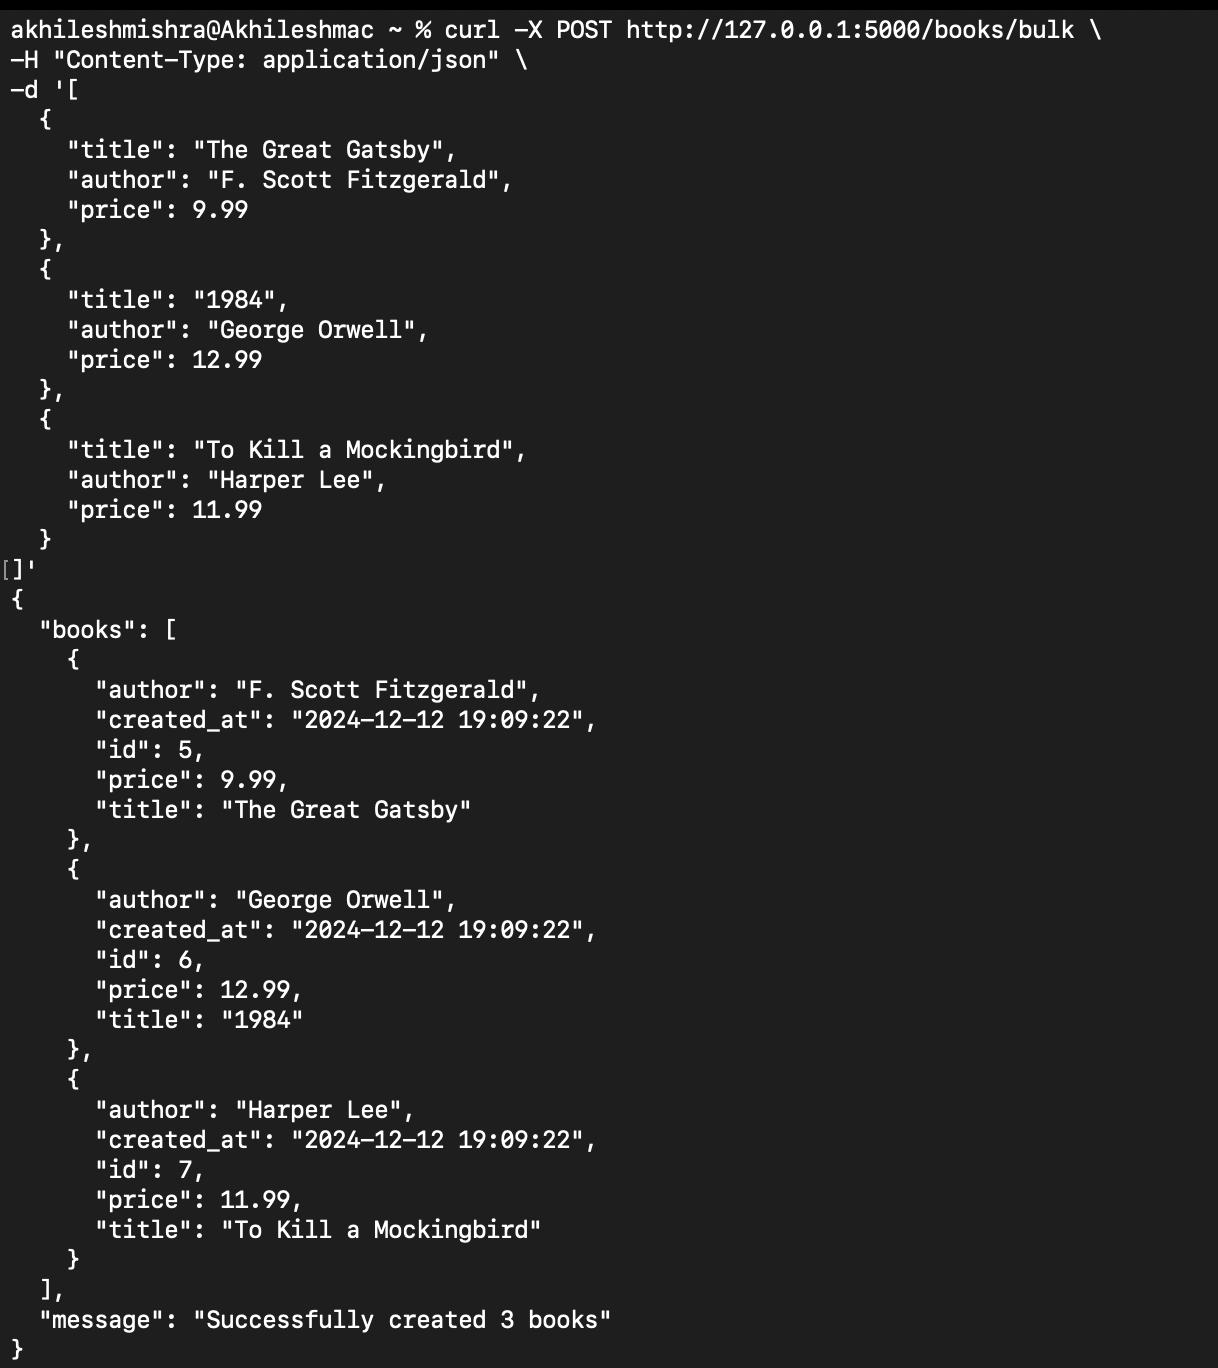
return jsonify({'error': str(e)}), 400- Make a bulk post request to create multiple book records at one go
curl -X POST http://127.0.0.1:5000/books/bulk \
-H "Content-Type: application/json" \
-d '[
{
"title": "The Great Gatsby",
"author": "F. Scott Fitzgerald",
"price": 9.99
},
{
"title": "1984",
"author": "George Orwell",
"price": 12.99
},
{
"title": "To Kill a Mockingbird",
"author": "Harper Lee",
"price": 11.99
}
]'
- Bulk updating the books
# Bulk Update - Update multiple books
@app.route('/books/bulk-update', methods=['PUT'])
def update_multiple_books():
try:
data = request.get_json()
if not isinstance(data, list):
return jsonify({'error': 'Expected a list of book updates'}), 400
updated_books = []
for book_update in data:
if 'id' not in book_update:
return jsonify({'error': 'Each book update must include an id'}), 400
book = Book.query.get(book_update['id'])
if not book:
return jsonify({'error': f'Book not found with id: {book_update["id"]}'}), 404
# Update fields if provided
if 'title' in book_update:
book.title = book_update['title']
if 'author' in book_update:
book.author = book_update['author']
if 'price' in book_update:
book.price = book_update['price']
updated_books.append(book)
db.session.commit()
return jsonify({
'message': f'Successfully updated {len(updated_books)} books',
'books': [book.to_dict() for book in updated_books]
})
except Exception as e:
db.session.rollback()
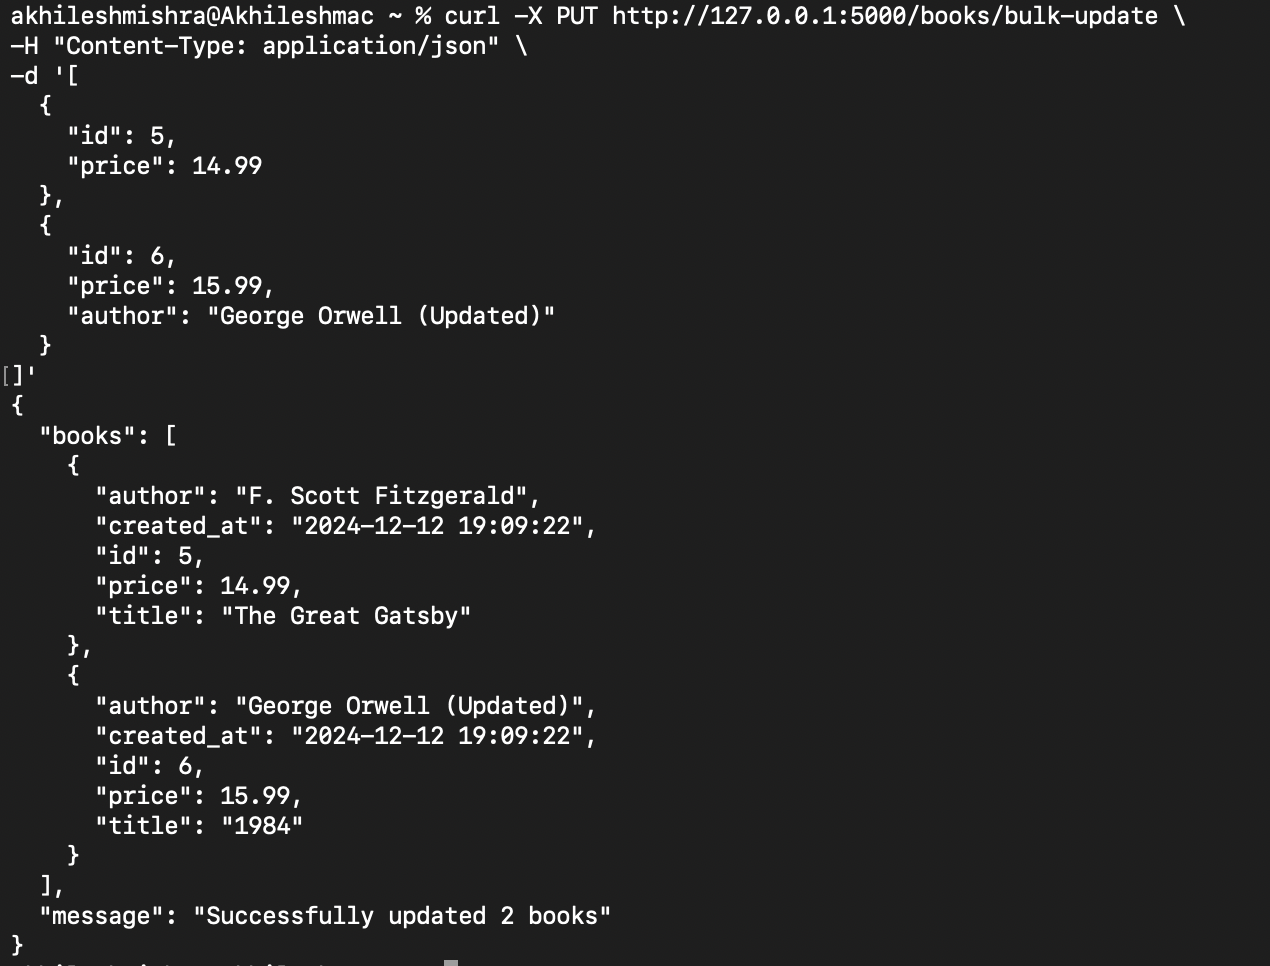
return jsonify({'error': str(e)}), 400Make bulk update request
# Bulk Update - Update multiple books
curl -X PUT http://127.0.0.1:5000/books/bulk-update \
-H "Content-Type: application/json" \
-d '[
{
"id": 5,
"price": 14.99
},
{
"id": 6,
"price": 15.99,
"author": "George Orwell (Updated)"
}
]'
You can find the complete code used in this blog post on my public GitHub repo.
That is all for this blog post, see you in the next one where I will teach you about building a full web app UI and running background tasks in the Flask app using celery.
